 I’m loving this early Fall weather we are having! I’ve had the windows open to air out this old, stuffy house. My apple crisp scented candles are burning away. I already pulled out my favorite hoodies and cozy sweatshirts. I am in no way ready for Winter, but Fall, bring it on!
The only bad thing about this cooler weather is the mess it creates in my house. Hoodies and jackets everywhere except where they are supposed to be….the coat closet. A closet dedicated to specifically hold coats, yet no one in this house is capable of putting their coat there. We had this same problem in our last house so I can only blame this problem on ourselves. I don’t know why it’s so hard for us to open the door and hang our coats on a hanger, but it is.
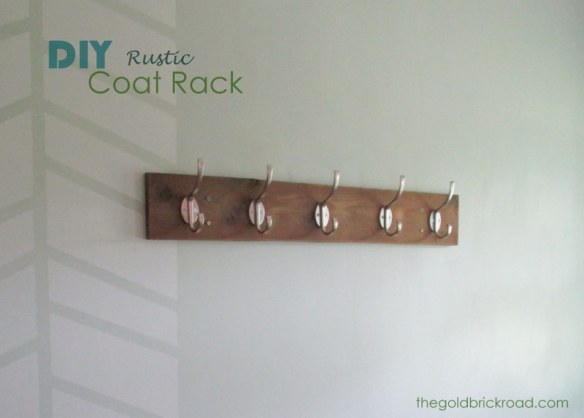
So instead of making myself crazy picking up hoodies and jackets all day, I decided to make myself a nice little coat rack. Something to hang right in the entry way that we could just throw our coats on instead of them ending up on the floor or kitchen table (why is the kitchen table a magnet for random clutter?). Could I buy a coat rack at the store? Of course, but what fun is that? I actually looked for a coat rack at many stores, but I just couldn’t find what I was picturing in my head. I wanted one that was the same length as the bench in our entry way and I wanted it to be sort of rustic. Nothing I found really fit the bill and I figured I could make one easily and save myself from having to look anymore.
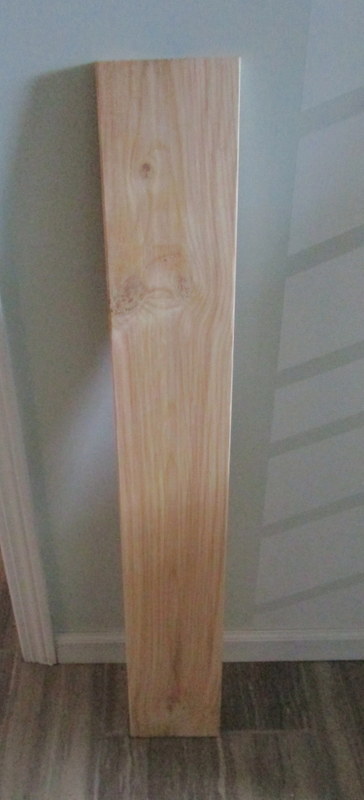
I started with a 1″ x 6″ 3′ pine board. My bench is 3′ long so this was perfect and saved me from having to cut it down. (Although cutting it down would’ve been super easy too). I think it was about $3 at Menards.
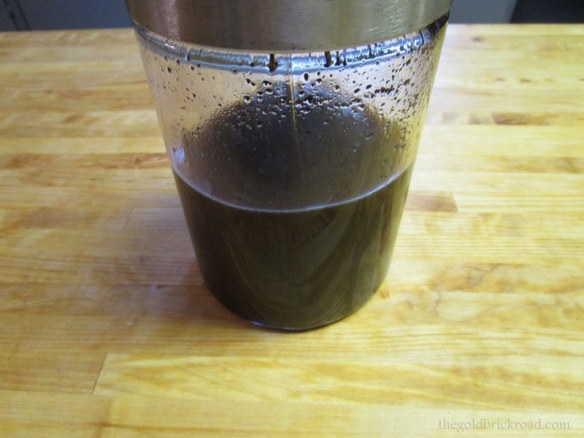
 I found a recipe for coffee stain online and decided to give it a try. I just used one part coffee grounds and one part white vinegar and mixed them in a glass container. Then I dropped a piece of steel wool down inside, closed up the container, and let it sit for about a day. Then I just pulled out the steel wool (while wearing gloves b/c it’s very icky) and started applying it to my untreated board. The steel wool leaves a little bit of a gray tint to the mixture which was perfect for the rustic look I was after. I’m sure if you didn’t leave the steel wool in as long, you would get less of a gray tint. Warning: this mixture is STINKY! It smells like hot garbage. You may need a mask.
 I applied one coat and then let it dry. It only took about 15 min to dry in the sun and then I was able to apply another coat. I only needed two coats for my rustic finish, but you could keep applying until you get the color you want.
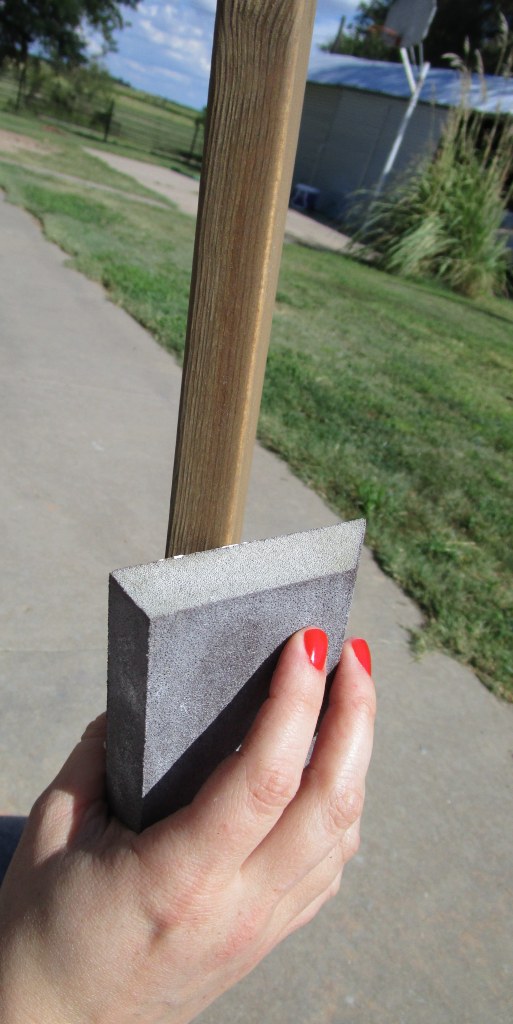
 I wanted my board to look like an old piece of wood. So after both coats were dry, I started to sand down the edges. Then I lightly sanded the rest of the board. I sanded more vigorously in some spots to give it more of an aged look. The vinegar/coffee smell went away after I sanded everything down. (thank God!)
 After I got my board the right color and roughed it up a bit, I added some hooks. I had room for 5 large hooks. I also got them at Menard’s for about $4 a piece. I spaced them out evenly and just drilled them into the board.
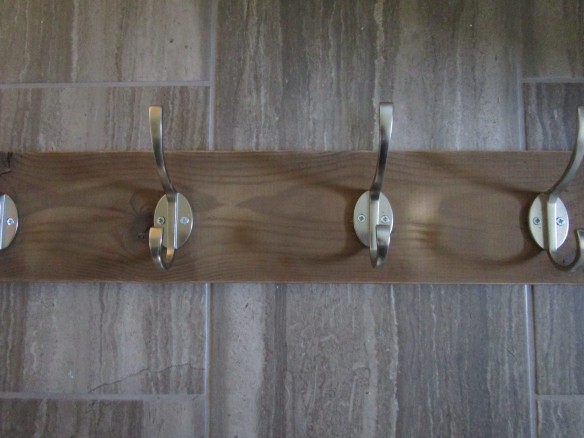 I used wall anchors and 2 screws on each side of my board to hang it so it would be nice and sturdy. I want it to be able to hold jackets and heavy coats as well as my super heavy diaper bag. I pre-drilled my holes for my anchors and made sure it was all level, then put my screws in.
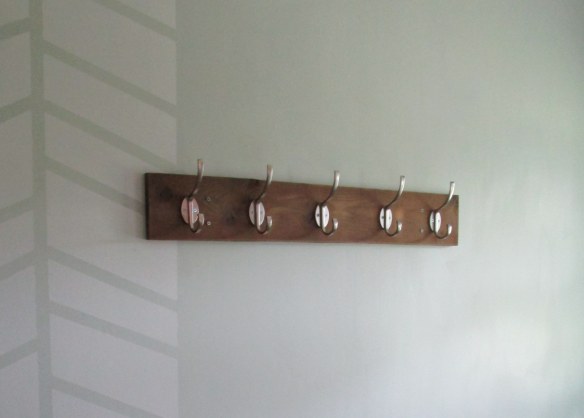
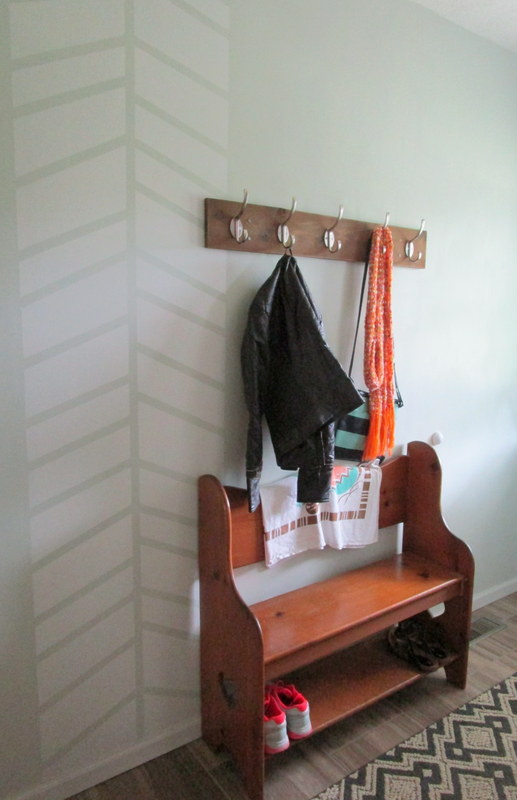
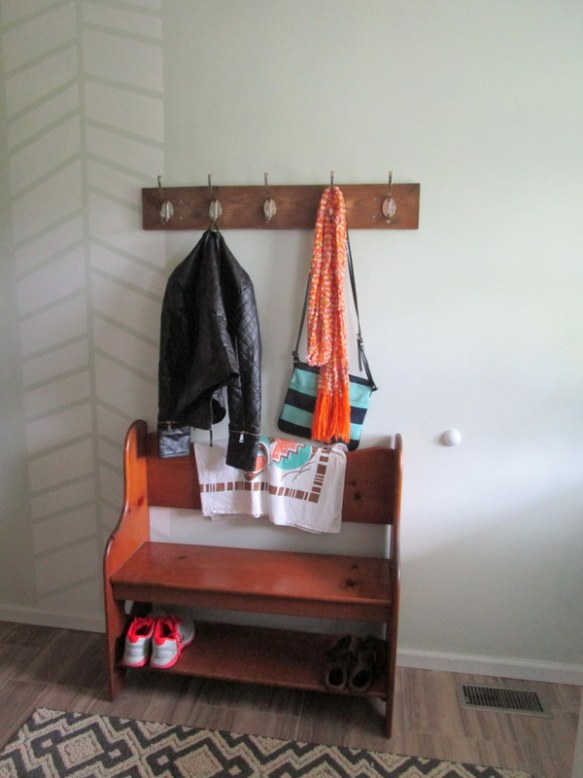
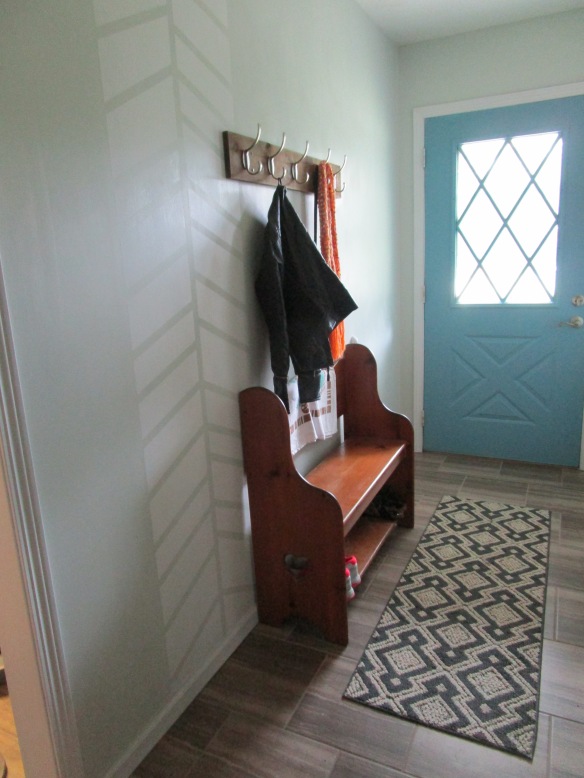 This was such an easy project. I am already looking for other things I can stain with coffee…besides my teeth ;). The whole thing cost me $23 which is way less than what I would’ve spent if I had found what I was looking for in the first place.
